Key Takeaways
-
Select the Right Seeds: Choose high-quality amaranth seeds from reputable sources to ensure a successful growth process.
-
Prepare Well-Drained Soil: Prioritize well-drained soil with good fertility levels to support healthy amaranth growth.
-
Follow Planting Guidelines: Sow amaranth seeds directly into the soil after the last frost date and maintain proper spacing for optimal growth.
-
Provide Adequate Water and Light: Ensure consistent watering and ample sunlight for your amaranth plants to thrive.
-
Fertilize Wisely: Use organic fertilizers and compost to enrich the soil and promote robust amaranth growth while avoiding over-fertilization.
-
Monitor and Manage Pests: Regularly inspect your amaranth plants for pests, practice pruning when needed, and consider natural pest control methods to protect your crop.
Discover the secrets of cultivating amaranth, a crop deeply rooted in history for its nutritional value and resilience. Uncover how to grow amaranth successfully in your backyard or garden, reaping its benefits. From ancient civilizations to modern-day superfood status, amaranth has stood the test of time as a versatile and nutrient-rich plant. Learn the ins and outs of nurturing amaranth flowers, from planting to harvest, and elevate your gardening skills with this ancient yet trendy addition.
Choosing Seeds and Varieties of Amaranth
Climate Suitability
When selecting amaranth varieties, it’s crucial to consider the climate. Some types thrive in warmer regions, while others prefer cooler temperatures. Ensure you choose a variety that suits your local climate for optimal growth.
Organic or Non-GMO Seeds
Opt for organic or non-GMO seeds for a healthier start to your amaranth garden. These seeds are free from harmful chemicals and genetic modifications, promoting the growth of nutritious and natural leafy vegetables.
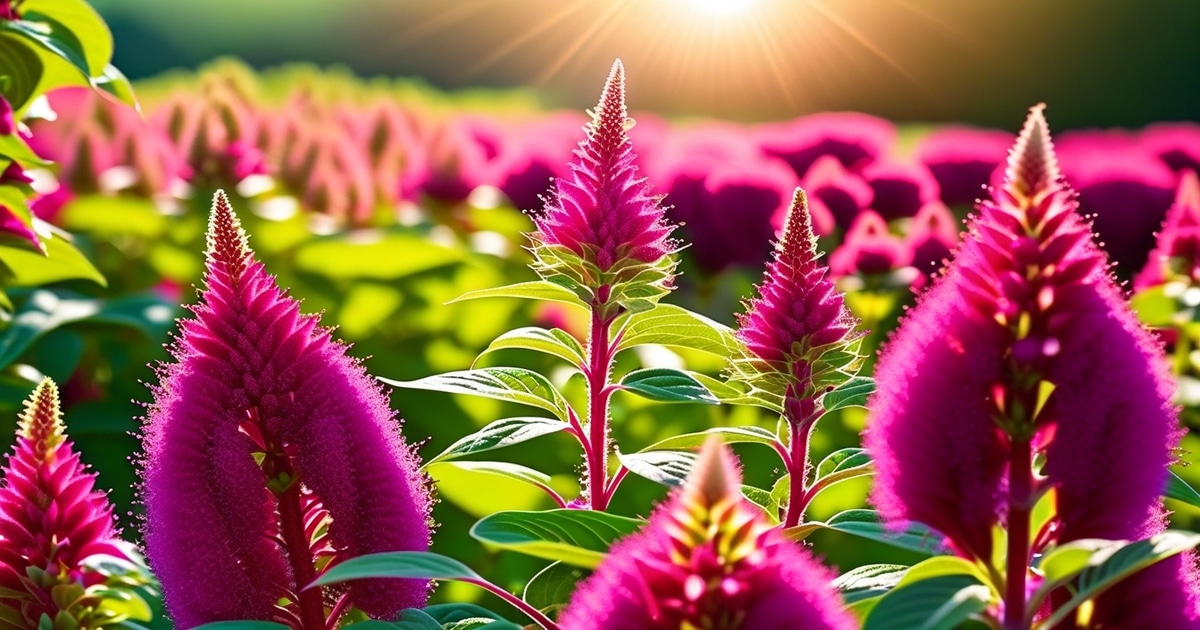
Selecting red, green, or purple amaranth varieties can add visual appeal to your garden based on personal preference. Each color offers unique characteristics, from vibrant reds to deep purples, enhancing your garden and your meals with colorful additions.
Soil Requirements and Preparation for Amaranth
Well-Draining Soil
Amaranth thrives in well-draining soil to avoid waterlogging that can harm the plant’s roots. Waterlogged soil deprives plants of oxygen, leading to stunted growth or even death. To prevent this issue, choose a planting site with good drainage.
Planting amaranth in raised beds or adding organic matter like compost to the soil can help improve drainage. These methods ensure excess water moves away from the plant’s roots, promoting healthy growth.
Testing Soil pH and Compost Amendment
Before planting amaranth seeds, testing your soil pH levels is crucial. For optimal growth, amaranth prefers slightly acidic to neutral soils with a pH range of 6.0-7.5. Adjusting the soil pH if needed ensures that the plants can absorb essential nutrients effectively.
Incorporating compost into the soil enhances its nutrient content and structure, providing a fertile environment for amaranth to flourish. Compost helps retain moisture in sandy soils while improving drainage in clayey soils—creating an ideal balance for healthy amaranth growth.
Sowing and Planting Guidelines for Amaranth
Direct Sow
To start growing amaranth, sow the seeds directly in your garden once the last frost has passed. This means planting the seeds directly in the soil outdoors instead of starting them indoors first. Following this method gives your amaranth plants a head start in their natural environment.
When sowing amaranth seeds, ensure they are planted about ¼ inch deep in rows or blocks. This depth allows the seeds to establish themselves in the soil while still being close enough to reach sunlight easily for germination.
Proper Spacing
After sowing the seeds, thinning out seedlings as they grow is crucial. Thinning involves removing some young plants to provide ample space for others to thrive without overcrowding each other. Adequate spacing ensures that each plant gets enough nutrients, water, and sunlight for healthy growth.
-
Pros:
-
Direct sowing promotes healthier root development.
-
Thinning seedlings prevent competition among plants.
-
Cons:
-
Over-thinning can leave gaps where weeds might grow.
Watering, Light, and Temperature Needs for Amaranth
Sunlight Requirements
Amaranth thrives in full sun, needing at least 6 hours of sunlight daily. To promote healthy growth, position your amaranth plants where they can soak up the maximum amount of sunshine.
To ensure your amaranth flourishes, keep the soil consistently moist without overwatering. This plant enjoys moderate watering levels to prevent waterlogged roots while providing adequate hydration for optimal growth.
Ideal Temperatures
For your amaranth to thrive, maintain temperatures above 60°F. This warm-season crop prefers a balmy environment to develop successfully and produce abundant foliage and seeds.
When growing amaranth, it’s crucial to balance sufficient sunlight exposure, proper watering practices, and maintaining favorable temperatures. By diligently meeting these requirements, you can cultivate robust amaranth plants that yield a bountiful harvest.
Fertilizing and Caring for Amaranth Plants
Applying Balanced Fertilizer
Applying a balanced fertilizer throughout the growing season is crucial for growing amaranth. A balanced fertilizer provides essential nutrients for healthy plant growth. Look for fertilizers with equal parts of nitrogen, phosphorus, and potassium.
Consider using organic fertilizers like compost or well-rotted manure to ensure your amaranth plants thrive. These natural options enrich the soil without harsh chemicals, promoting strong root development and vibrant foliage.
Mulching for Moisture Retention
Mulching around your amaranth plants serves multiple purposes: it retains soil moisture, suppresses weed growth, and regulates soil temperature. Use organic mulches like straw or shredded leaves to create a protective layer around the base of each plant.
Remember to replenish the mulch periodically as it decomposes over time. This practice conserves moisture and adds organic matter back into the soil as the mulch breaks down naturally.
Pruning, Propagating, and Managing Pests in Amaranth
Pruning for Healthy Growth
To ensure healthy growth of amaranth plants, it’s crucial to remove dead or damaged leaves regularly. This practice promotes airflow and reduces the risk of diseases that can harm your plants. By maintaining a clean and tidy environment around your amaranth, you help them thrive.
Pruning Example:
-
Trim off any wilted or yellowing leaves.
-
Cut back overgrown branches to encourage new growth.
Propagating Through Stem Cuttings
Expanding your amaranth garden is easy with stem cuttings. Simply snip a healthy section of a stem from an existing plant and place it in water until roots develop. Once roots are established, transplant the cutting into the soil for a new amaranth plant to grow.
Propagation Tips:
-
Select a healthy stem with at least two sets of leaves.
-
Place the cutting in indirect sunlight until roots appear.
Managing Common Pests
Aphids, flea beetles, and leaf miners are common pests that can affect amaranth plants. Regularly inspecting your plants for these pests allows you to take quick action if an infestation occurs. Consider using natural remedies or introducing beneficial insects to keep pest populations under control.
Pest Management Techniques:
-
Use neem oil as a natural pesticide.
-
Introduce ladybugs to feed on aphids and other harmful insects.
Harvesting and Post-Harvest Care for Amaranth
Harvesting Tips
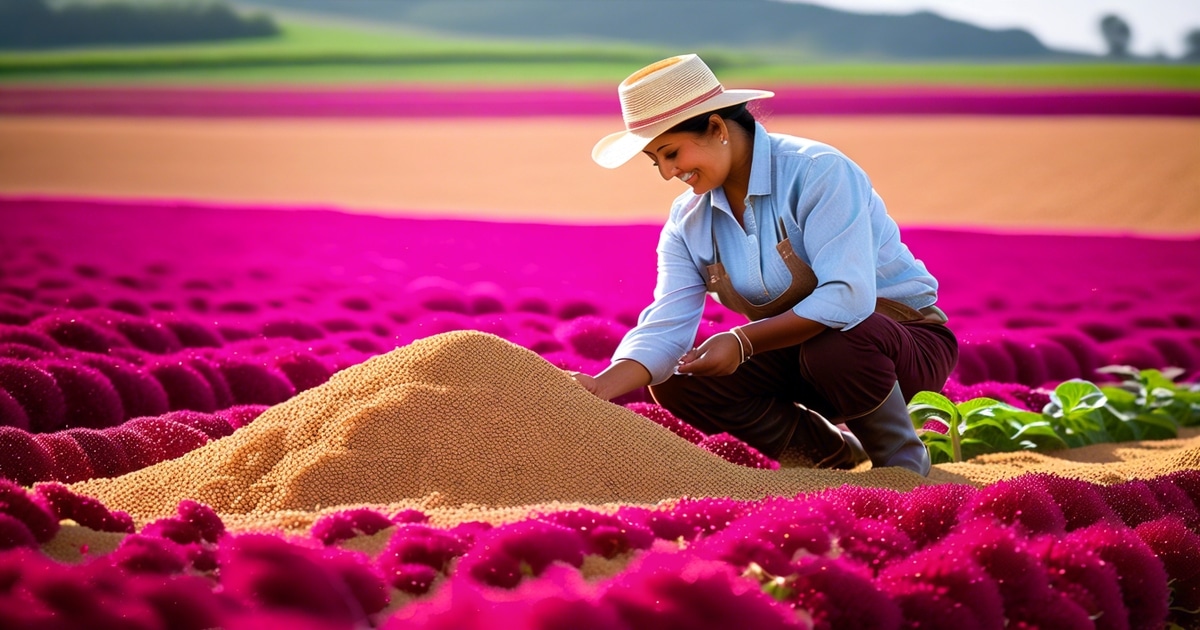
When harvesting amaranth, you can gather young leaves for fresh salads or wait until the plants mature to collect grains. It’s best to cut the stems right below the flower heads when ready for grain varieties. This process ensures that you capture the seeds efficiently without losing any.
To maintain the quality of your harvested seeds, dry them thoroughly before storing them. Properly dried seeds are less likely to develop mold during storage, preserving their viability for future planting seasons.
Post-Harvest Care
After harvesting your amaranth crop, compost the leftover plant material back into your garden soil. This practice helps return essential nutrients to the earth and improves soil health. Consider saving some mature seed heads for decorative purposes or as bird feeders in your garden.
-
Pros:
-
Allows for multiple harvests from one plant.
-
Dried seeds can be stored long-term.
-
Cons:
-
The seed-drying process requires time and attention.
Nutritional Benefits and Uses of Amaranth
Protein and fiber-rich
Amaranth is a fantastic gluten-free option packed with protein and fiber, making it an excellent addition to a balanced diet. The high protein content helps muscle repair, while the fiber aids digestion.
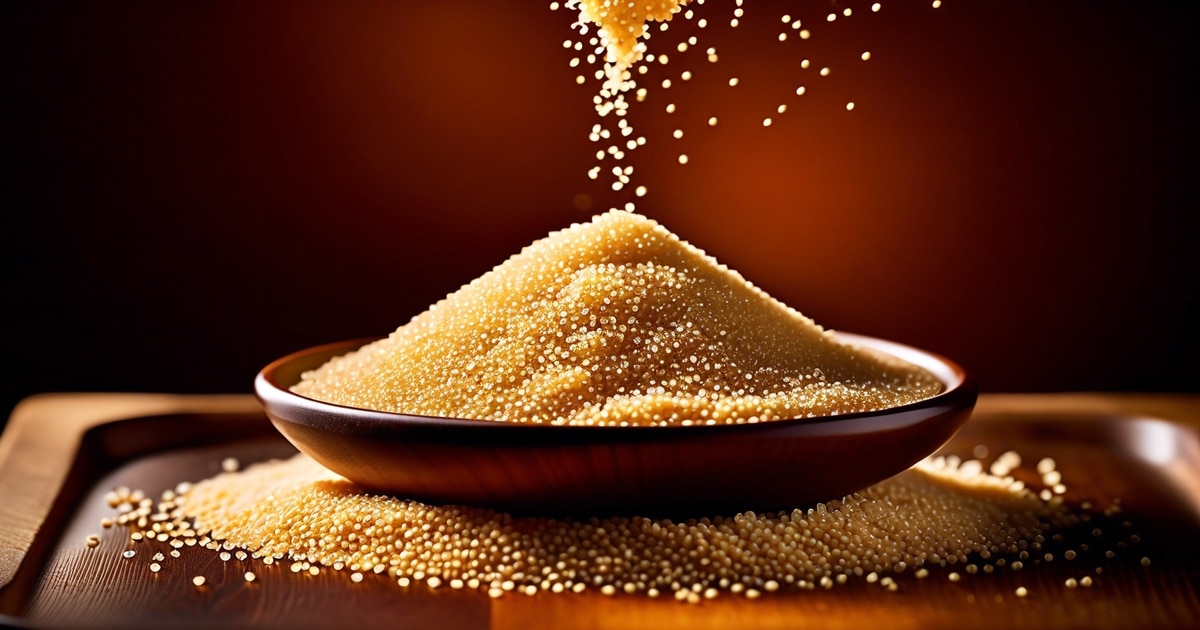
Enjoy amaranth in various forms, such as popped amaranth, which can be sprinkled on yogurt or incorporated into homemade granola bars for a crunchy texture. The versatility of popped amaranth makes it a great topping for salads or mixed into trail mixes for added nutrition on the go.
Baking with Amaranth Flour
To enhance the nutritional value of your baked goods, consider using amaranth flour as an alternative to traditional flour. By substituting part of the regular flour with amaranth flour, you can increase the protein content and add essential nutrients like iron and magnesium to your recipes.
Incorporate amaranth flour into muffins, bread, pancakes, or cookies for a nutty flavor profile that complements sweet and savory dishes. Experimenting with different ratios of amaranth flour in baking recipes allows you to tailor the taste and texture according to your preferences.
Final Remarks
You’ve now got the lowdown on growing amaranth like a pro. From selecting the right seeds to harvesting those vibrant greens, you’re all set to embark on your amaranth-growing journey. Remember, patience is key – just like nurturing a friendship, tending to your amaranth plants requires care, attention, and a sprinkle of love. So, roll up your sleeves, get your hands dirty, and watch those amaranth babies flourish under your expert care!
Now that you’re armed with the know-how, it’s time to put your green thumb to good use. Get out there, start planting, and enjoy the bountiful harvest that awaits you. Happy growing!
Frequently Asked Questions
How do I choose the right seeds and varieties of amaranth?
To choose the best amaranth seeds, consider factors like your climate, space availability, and intended use (ornamental or edible). Popular varieties include Red Garnet Amaranth for its vibrant color and Green Callaloo for its tender leaves.
What are the soil requirements for growing amaranth?
Amaranth thrives in well-draining soil rich in organic matter. Aim for a slightly acidic to neutral pH level between 6.0-7.5. Prepare the soil by loosening it to a depth of at least 12 inches before planting.
When should I sow and plant my amaranth seeds?
Sow your amaranth seeds directly into the garden after all danger of frost has passed. Plant them about 1/4 inch deep and space them around 18-24 inches apart to give each plant enough room to grow.
How often should I water my amaranth plants?
Water your amaranths consistently to keep the soil evenly moist but not waterlogged. During hot weather or dry spells, you may need to water more frequently – typically around 1-2 inches per week, depending on rainfall.
What common pests affect amaranth plants, and how can I manage them?
Aphids, flea beetles, and leaf miners are common pests that may bother your amaranths. To manage these pests organically, try using insecticidal soap or neem oil sprays while watching for early signs of infestation.